What you’ll need:
- Our DNA fact sheet to read from (because we know parents don’t actually know everything!)
- Paper
- Scissors
- Colouring pens or pencils
- String/ribbon
- Beads, feathers, other decorations (optional, but fun)
Duration:
- 10 minutes to cover the fact sheet
- 5 minutes to make the DNA strands
- 20 minutes to string them together into your favourite animal
Before you start
Read our ‘Introduction to DNA’ fact sheet. (Parents – it will help if you can read this through together – you might learn something too!)
Now you’re ready to get creative and make your very own DNA design following the steps below.
1.
Cut up some paper, and write a DNA letter on each piece – you’ll need some As, some Ts, some Cs and some Gs.
Top tip: Remember, the best friend letters don’t like to be separated, so if you make a T, A will always be hanging out below, and vice versa. It’s the same for G and C. Click here for our printable template which will give you an idea of how the letters should look.
3.
Choose an animal you would like to create a sequence for, from the sequences below.
Chimpanzee
GTA TTT GTG GTA AAC CCA GTG
Human
TCT GAG TTC TTA CTT CGA AGG
Carnivorous plant
GTA GCC ACA GAC TCA GTC ATC
4.
Lay out your sequence, with letters grouped in sets of three – these are the codons. Leave a space between the groups. The ‘best friend’ letters on the bottom are the base code. Cut a piece of ribbon or string to the length you will need in order to stick on your sequence.
5.
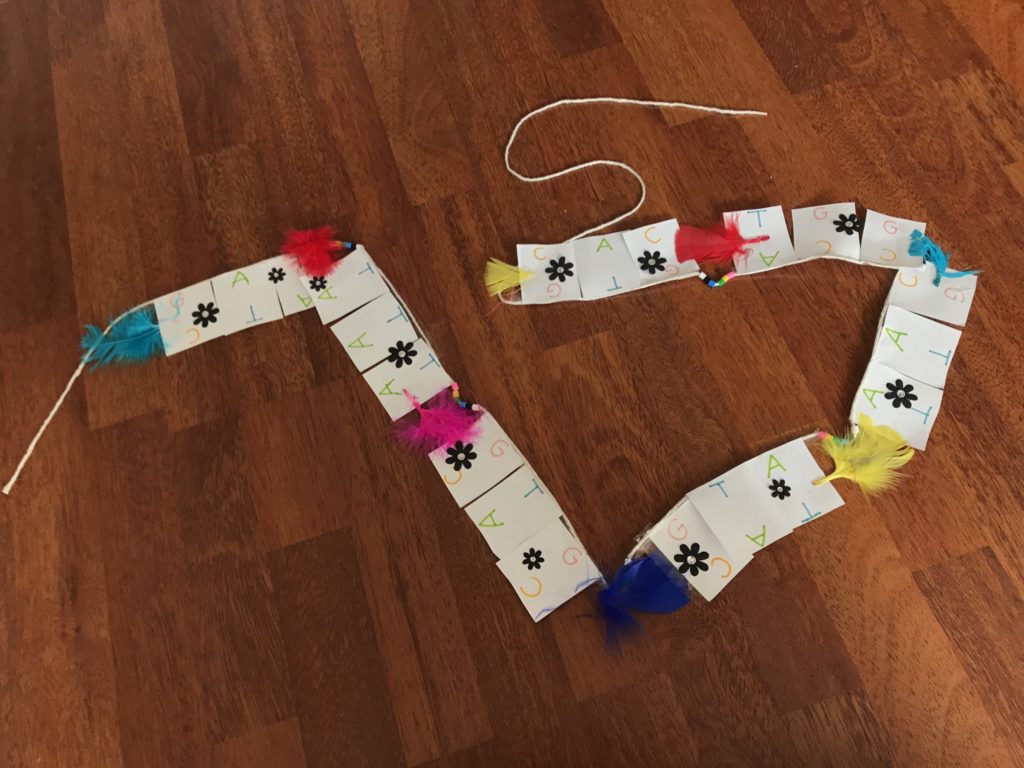
Stick your letters in groups of three onto your string. If you want, you can add beads, feathers or extra ribbon in between the codons (that bit’s just for fun – you won’t find those in real DNA!) All that’s left is to find somewhere to hang your creation!
Your end result will look something like this:


One Response
GFS lockdown activities - SCIENCE WEEK - Girls Friendly Society
[…] This craft session helps kids get to grips with the building blocks of life using things you have around the house. Includes video. Instructions here. […]